At Codegarden 2018 I did a talk titled "Umbraco Forms as the Ultimate Survey Tool". Recently I received a question about how to display the submitted data in an aggregated format after the form has been submitted. This was something that my talk demo was doing. I though this might make for a good follow-up article, especially since the recent update to Umbraco Forms makes it an even more appealing tool for developers to use.
A Quick Forms Primer
When you create a new form via the back-office UI, it’s fairly obvious that you add form fields with textboxes, radio buttons, etc. But it might be less clear how you control what happens when the form is submitted.
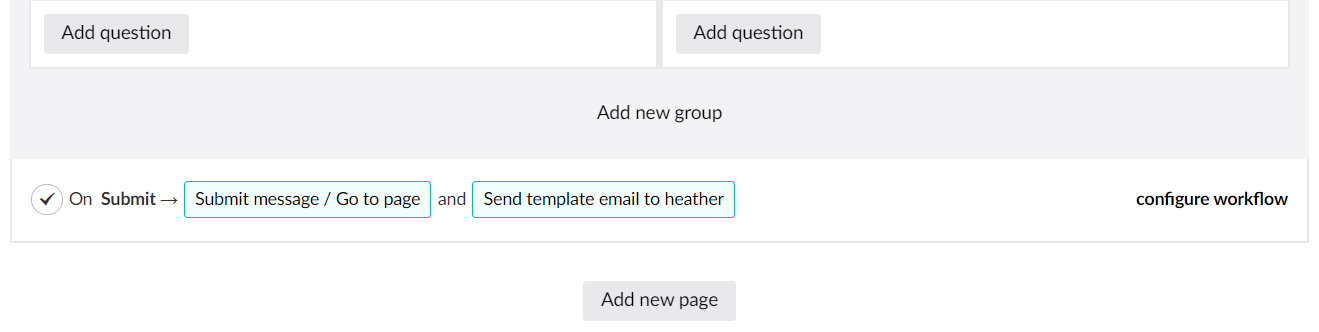
“Workflows” are specific functions which run on submission/approval of a form entry. They are added to a form at the bottom of the editing area (after the questions):
You can edit individual workflows by clicking on them directly, or click “configure workflow” to add/edit all workflows:
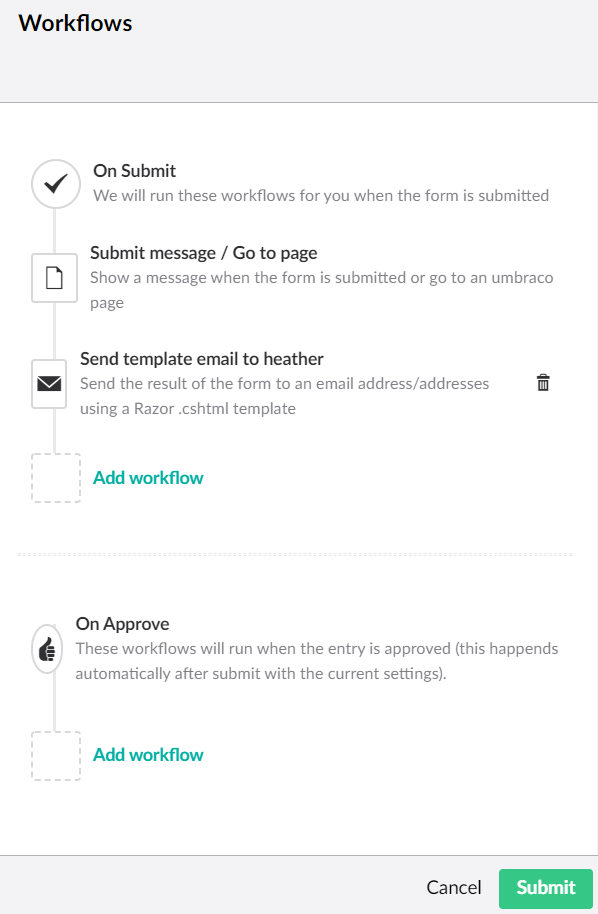
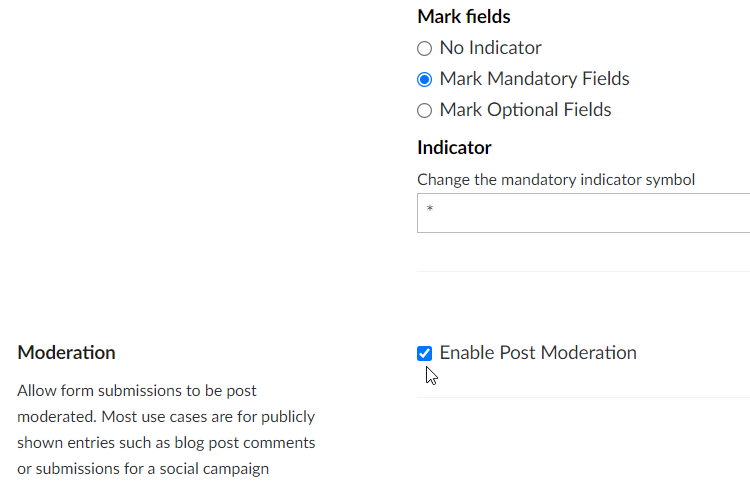
You have two events which can trigger workflows to run – “On Submit” and “On Approve”. “On Approve” is only relevant if you have enabled “Post Moderation” via the form Settings:
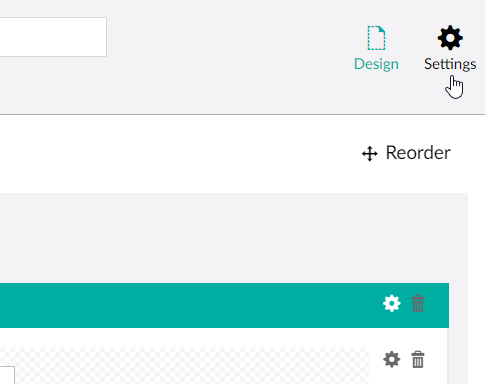
The option is at the bottom:
Umbraco Forms ships with several standard Workflows, and you can create your own custom Workflows using C#.
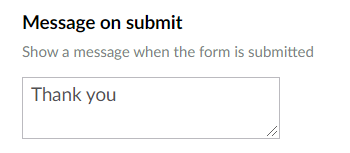
The workflows are good if you want to send the data somewhere else (an email, a third-party, a Content node…) but there is one Workflow which is standard on all forms, and cannot be deleted: “Submit message/Go to page”
By default, this will just show a simple text message when the form is submitted:
But you can override this by selecting a page which the visitor is redirected to instead:
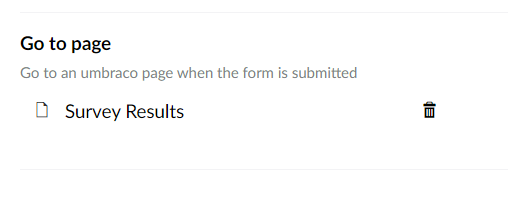
Certainly, this a is a good way to show a more full-featured “thank you” page, but keep in mind that this is an Umbraco Content page – and can run whatever dynamic code you like… such as showing the results of the form submission.
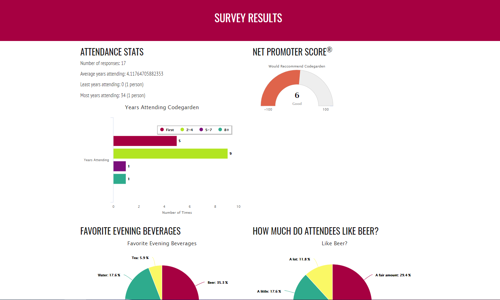
This is what my demo page does. I have a partial view running on that page which reads all the submitted data for that form, and displays it as text and using charts.
Displaying Form Record Data on an Umbraco Page
In order to display form data on a page, you will need code on the Content node – either in the template file directly or added via a Macro or Partial View. Basically, you first need to use the Form GUID to get all the submitted records, then you can use those records to create aggregate calculations or otherwise display the data.
Here is a little “helper” model you can use to get an object with the form and its records:
[This Umbraco 7 example code is partially taken from the package Dragonfly.Umbraco7Forms, which can be installed via NuGet]
Once you have the records, you can also convert them to a strongly-typed data model, of course – though keep in mind that since you are defining the data model via code, any changes to the Form from the back-office UI will not be automatically reflected in your data model.
Here is a basic example of a custom data model for a specific form:
Some example code for your View:
[View all Umbraco 7 Example Code on GitHub]
Advanced Post-Processing Via the Thank You Page
Your “Thank you” page can also handle other post-submit activities. For instance, if you have code you’d like to run that is not in the format of an Umbraco Forms Workflow.
Here is an example from an Umbraco 8 site, where there is a Member Registration Form, with the “Save as Member” workflow (You can get the workflow as part of Dragonfly.Umbraco8FormsMembers.) This workflow adds some data to the Session after successful submit, which can then be accessed in the Thank You page to display a personalized “welcome” message, or alternately, any registration errors:
Notice on line 33 that we are running an external bit of code that will make some custom updates to the Member record. Sure, this could be in your own custom “Save as Member” workflow code as well, but I wanted a modular solution which would allow the use of the more generic “Save as Member” workflow across different registration scenarios/websites. Something to keep in mind is that if you have multiple workflows assigned to the same form, they run independently of each other, so failures in one will be unknown to the others. This is a main reason why I chose to implement the customized code on the Thank you page rather than as part of a second workflow.
Conclusion
I hope these examples have inspired you to push your usage of Umbraco Forms further. I welcome your feedback and questions in the comments area, below.